
Astrophotography is all about taking captivating photos of the night sky. While it used to be a hobby reserved for experts in astrophysics and professional photographers, it's now something anyone with a passion for stargazing and a camera can try their hand at.
You'll need the right gear, a good dose of patience, and some knowledge about the best places and times of the year to head out with your camera. With these essentials in your toolkit, you'll soon be snapping stunning shots of the night sky – from the moon and stars to meteor showers and the Milky Way.
While you won't be able to capture the incredibly detailed images of deep space objects like the James Webb Space Telescope can, you can still create mesmerizing photos of the sparkling stars visible from our planet.
In this guide, we'll break down the basics of astrophotography and how you, too, can turn it into a hobby!
Finding the Perfect Timing to Capture the Night Sky
Two crucial factors come into play to capture the most stunning night sky photographs: clear skies and darkness. Keeping an eye on the lunar calendar is essential, as it guides you to the best times each month for your stargazing spots, depending on your celestial subjects of interest.
Aim for a night-sky shoot for photographing stars and other cosmic wonders, starting approximately one week before the new moon and continuing for a few days afterwards. The moon's radiant glow becomes overpowering during the full moon and the days immediately before and after, giving the stars and other celestial phenomena a breathtaking backdrop. During these lunar phases, your primary target naturally becomes the moon.
Bonus tip: The best time to go on an astrophotography adventure with your camera depends on the moon's phase and the time of year. For capturing the Milky Way, your prime window falls between May and July, with the magic hour typically around midnight. If you aim to photograph the night sky during autumn, I suggest doing your shoot right after sunset.
To prepare for your next astrophotography, here is the complete Astronomy Calendar of Celestial Events 2024.
Where to Find the Perfect Spots for Capturing Night Landscapes
When you're on the hunt for the perfect spot to capture stunning night sky photos, one critical factor takes center stage: darkness. Light pollution can be a real buzzkill for your astrophotography, so it's necessary to look for locations far from the bright lights of cities to guarantee your images turn out crystal clear.
Here's a practical tip: Do a little research to see if International Dark Sky Place-certified communities, parks, and protected areas are nearby. These Dark Sky Places, which come in various forms like Dark Sky Reserves and Dark Sky Parks, are unique places where measures are taken to limit light pollution. In these areas, the night skies are left untouched and shielded, allowing you to witness the stars in all their glory.
By heading to these designated spots, you'll treat yourself to the most precise and awe-inspiring night sky views, giving your astrophotography a chance to truly shine. So, remember, it's all about finding that dark, secluded spot to capture the best display of stars in your photos!
Alternatively, you can use sites like Dark Site Finder and Light Pollution Map to help you find the perfect shooting spot. There are also paid apps (which won’t hurt much to spend on!) you can explore, such as:
- SkySafari 7 Pro (Available for iOS and Android)
- PhotoPills (Available for iOS and Android)
- Night Sky 11 (Available for iOS only)
Shooting with the Right Gear

© Shot by Jack Fusco using SIGMA 20mm f1.4 DG DN | ART, Milky Way on Mt. Rainier, Silver Forest Trail
To make the most out of your astro shots, we need to make sure you have the right gear first. Here are five rules that will come in handy for your astrophotography:
1. A TRIPOD WILL MAKE OR BREAK YOUR WINNING SHOT.
Investing in a tripod is a non-negotiable step for anyone venturing into night sky photography. When capturing images in low-light conditions, exposure times often range from five to 30 seconds. A sturdy tripod is A MUST to maintain the required stillness during these exposures because it ensures that your camera remains perfectly stable, resulting in the sharpest possible images.
2. IT’S ALL ABOUT THE LENS.
Selecting the right lens is equally pivotal in astrophotography. Go for a fast and wide lens, maximizing your ability to capture the night sky's beauty. A 14-24mm wide-angle lens with a generous maximum aperture of at least ƒ/2.8 is highly recommended.
Best Lenses for Astrophotography in 2023
- Sigma 24mm F1.4 DG DN Art Lens (Leica L Mount) - $799.00
- Sigma 24mm F1.4 DG DN Art Lens (Sony E Mount) - $799.00
- Sigma 20mm F1.4 DG DN Art Lens (Leica L Mount) - $899.00
- Sigma 20mm F1.4 DG DN Art Lens (Sony E Mount) - $899.00
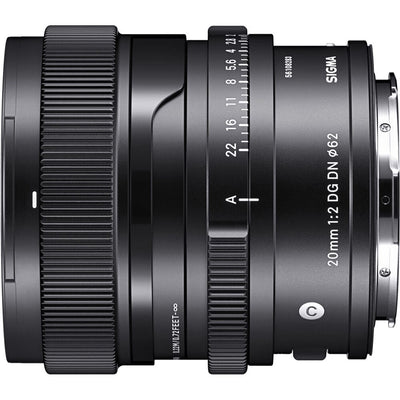
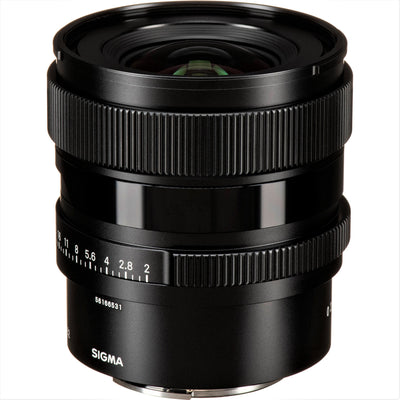
- Sigma 20mm F2.0 DG DN Contemporary Lens (Leica L Mount) - $699.00
- Sigma 20mm F2.0 DG DN Contemporary Lens (Sony E Mount) - $699.00
- Sigma 14mm F1.4 DG DN Art Lens - $1,599.00
- Fujifilm XF 50mm F1.0 R WR Lens - $1,499.95
3. THE LARGER THE APERTURE, THE BETTER.
Here's a handy tip for capturing stunning night sky photos (assuming the moonlight isn't overpowering): allowing as much natural light from the night sky into your camera as possible. To achieve this, use a wider aperture setting, typically ranging from ƒ/2.8 to ƒ/4.
This larger aperture enables your camera to gather more light, resulting in improved detail and the ability to capture a more significant number of stars in your shots. So, remember, when the moonlight is cooperative, open up your aperture to let that starry brilliance shine through!
4. COMPUTE FOR SHUTTER SPEED/EXPOSURE TIME.
Calculating the correct shutter speed or exposure time is crucial in astrophotography, as it directly affects the sharpness of the stars in your images. Typically, you'll want to use a shutter speed ranging from five to 30 seconds for astrophotography, aiming for the longest exposure time that keeps the stars sharp.
To determine the ideal exposure time, you can employ a common rule known as the "500 rule." Here's how it works: Begin with the number 500, and then divide it by the focal length of your lens. The result is the maximum exposure time you can use in seconds before the stars begin to exhibit trailing and blurring in your photos.
This rule is handy for ensuring your night sky shots maintain the crispness and detail of the celestial objects you're capturing. So, whether you're using a wide-angle or telephoto lens, the 500 rule can help you achieve the best results in your astrophotography adventures.
5. A HIGH ISO IS (ALWAYS) THE KEY.
When fine-tuning your astrophotography settings, your choice of ISO setting becomes a critical piece of the puzzle. For the most part, the sweet spot typically lies on the higher end of the spectrum, specifically within the range of 1600 to 6400. This might seem counterintuitive because higher ISO values introduce more sensitivity to light, but they also bring a bit of a challenge in the form of noise and grain.
Why go high? The night sky is filled with heavenly celestial sceneries, and a higher ISO helps your camera sensor gather more of that precious starlight. Plus, it prevents your images from plunging into the dreaded pitch-black abyss.
Now, here's the fun part: the exact ISO setting you should use can vary, depending on the specific camera you're using and the unique conditions of your shoot. The good news is that astrophotography is a bit like being a cosmic scientist with a camera – you get to experiment.
Pro tip: Try snapping a series of shots while progressively cranking up the ISO with each click. This hands-on approach will help you discover the ISO setting that yields the most stellar results for your camera and the particular scenario you're shooting in. So, don't be afraid to embrace the trial-and-error adventure that is astrophotography!
Cameras for Astrophotography We Like
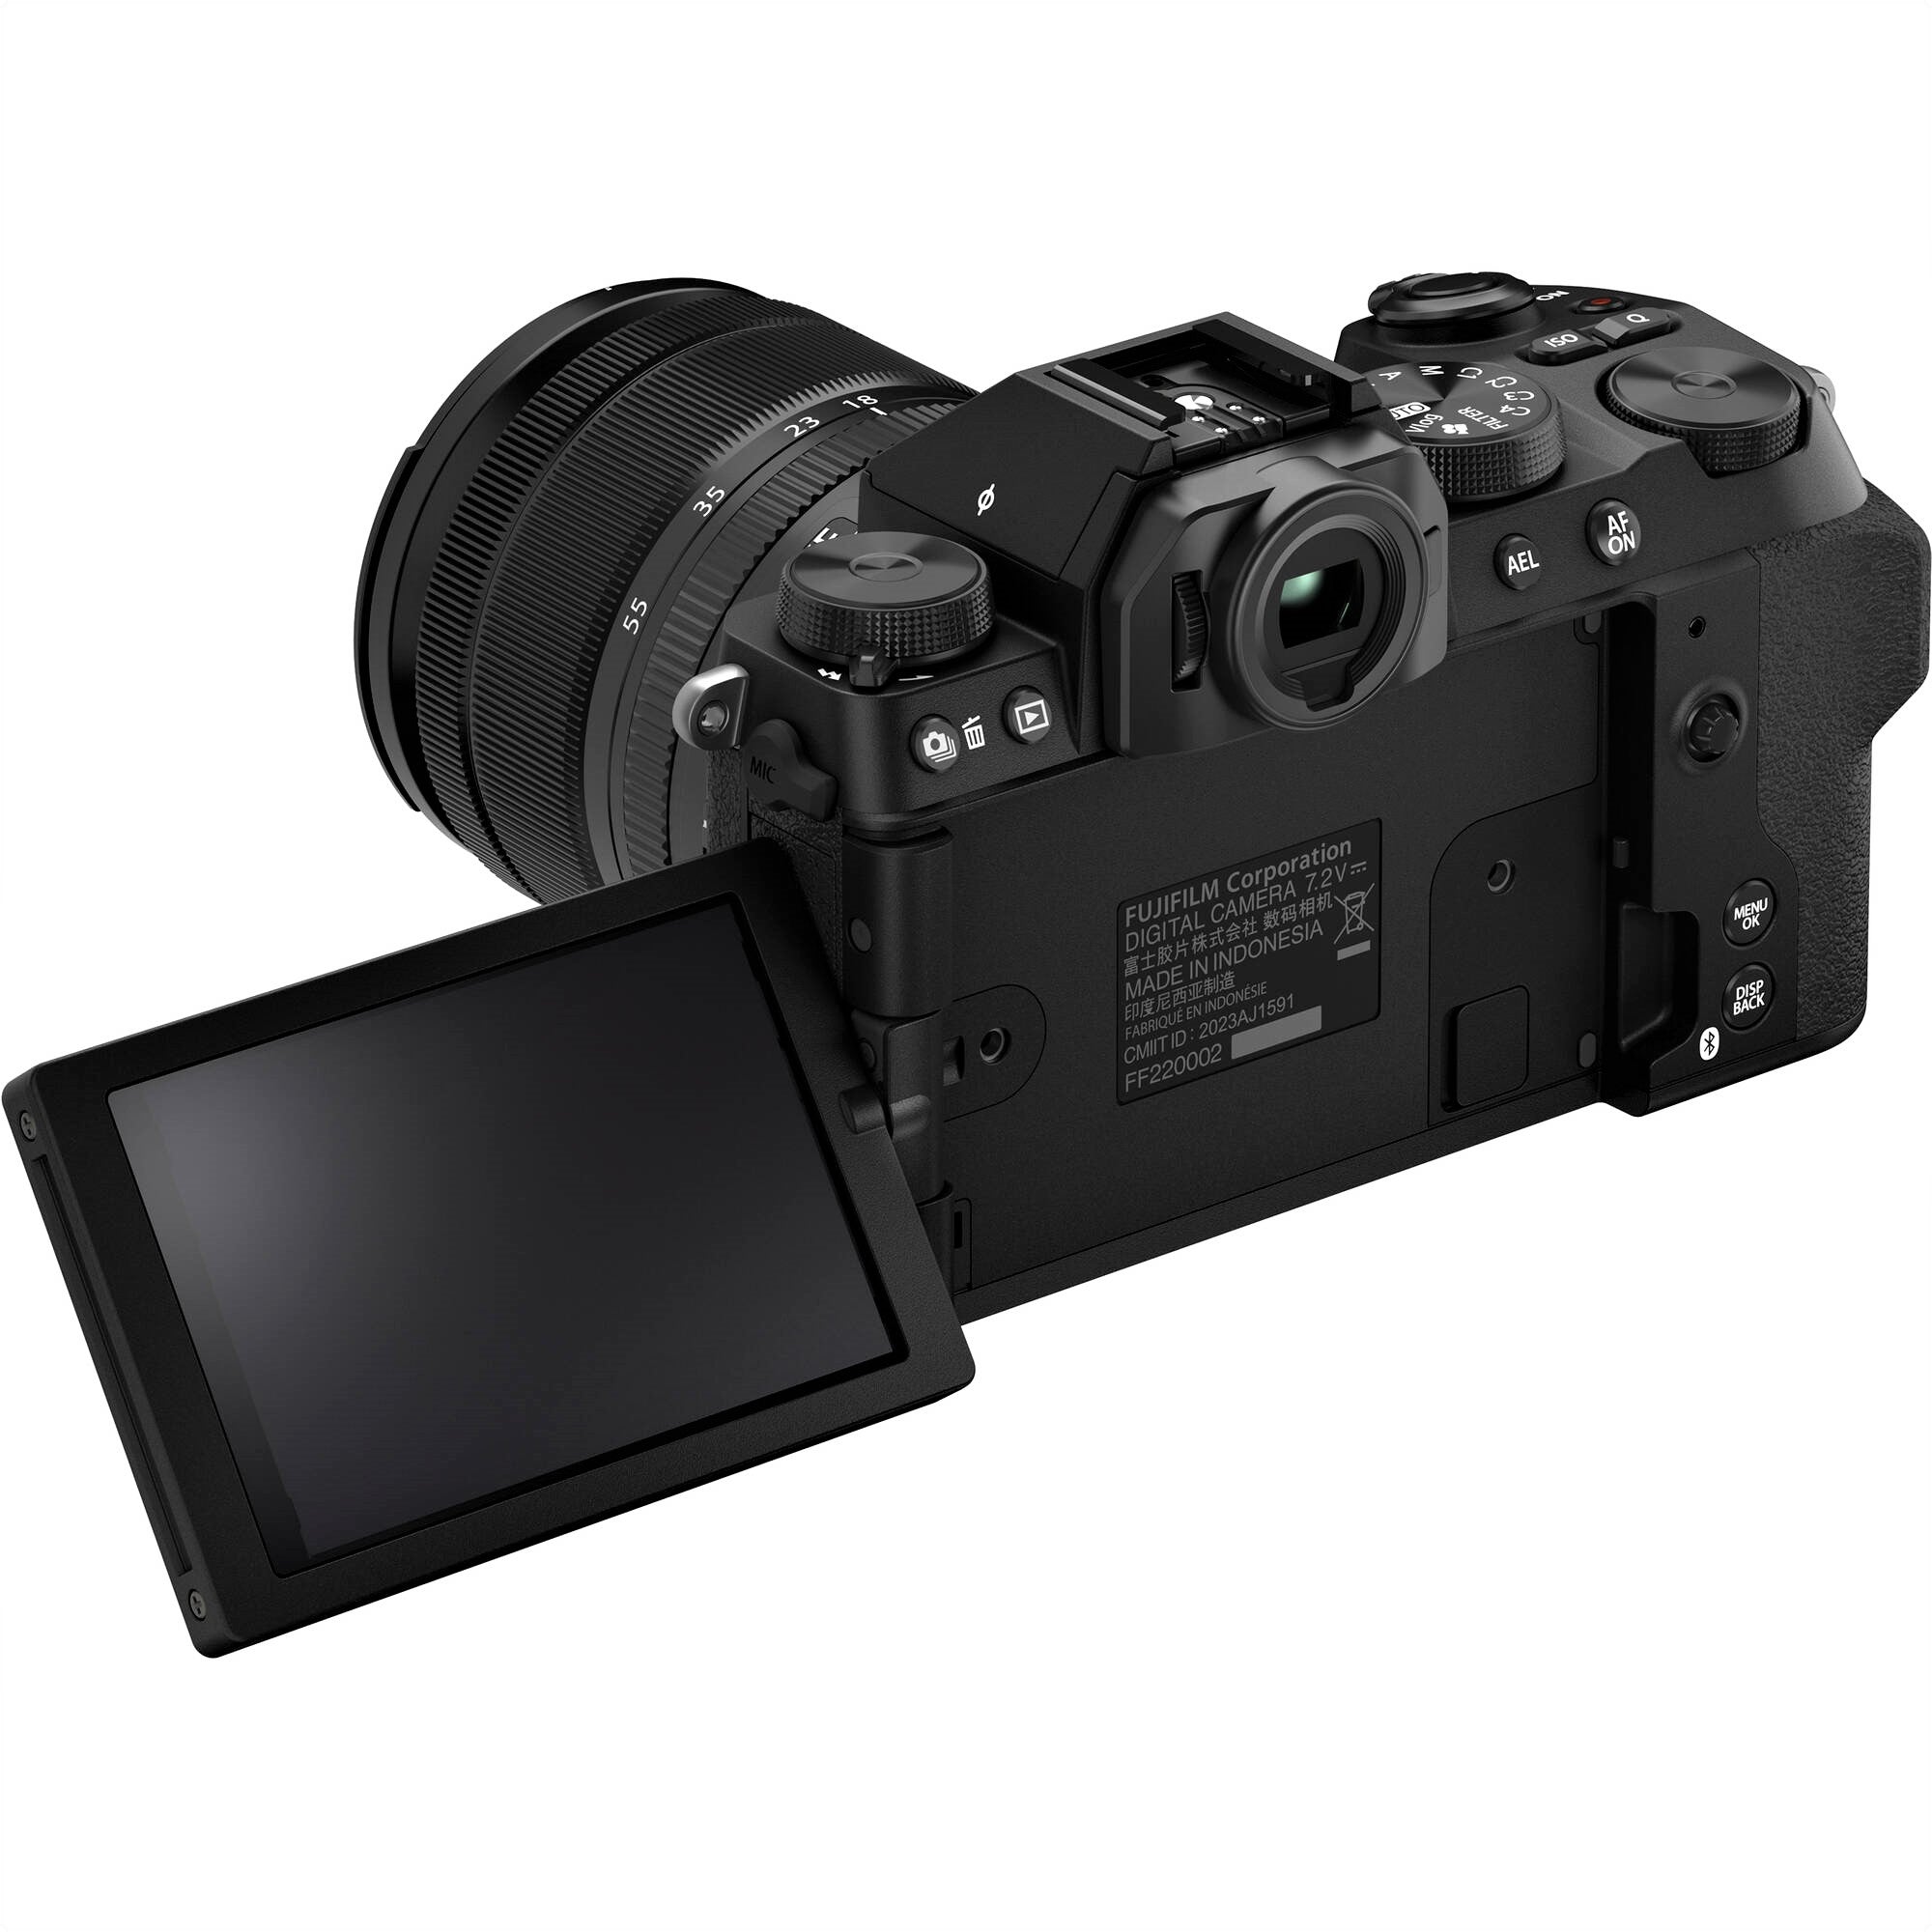
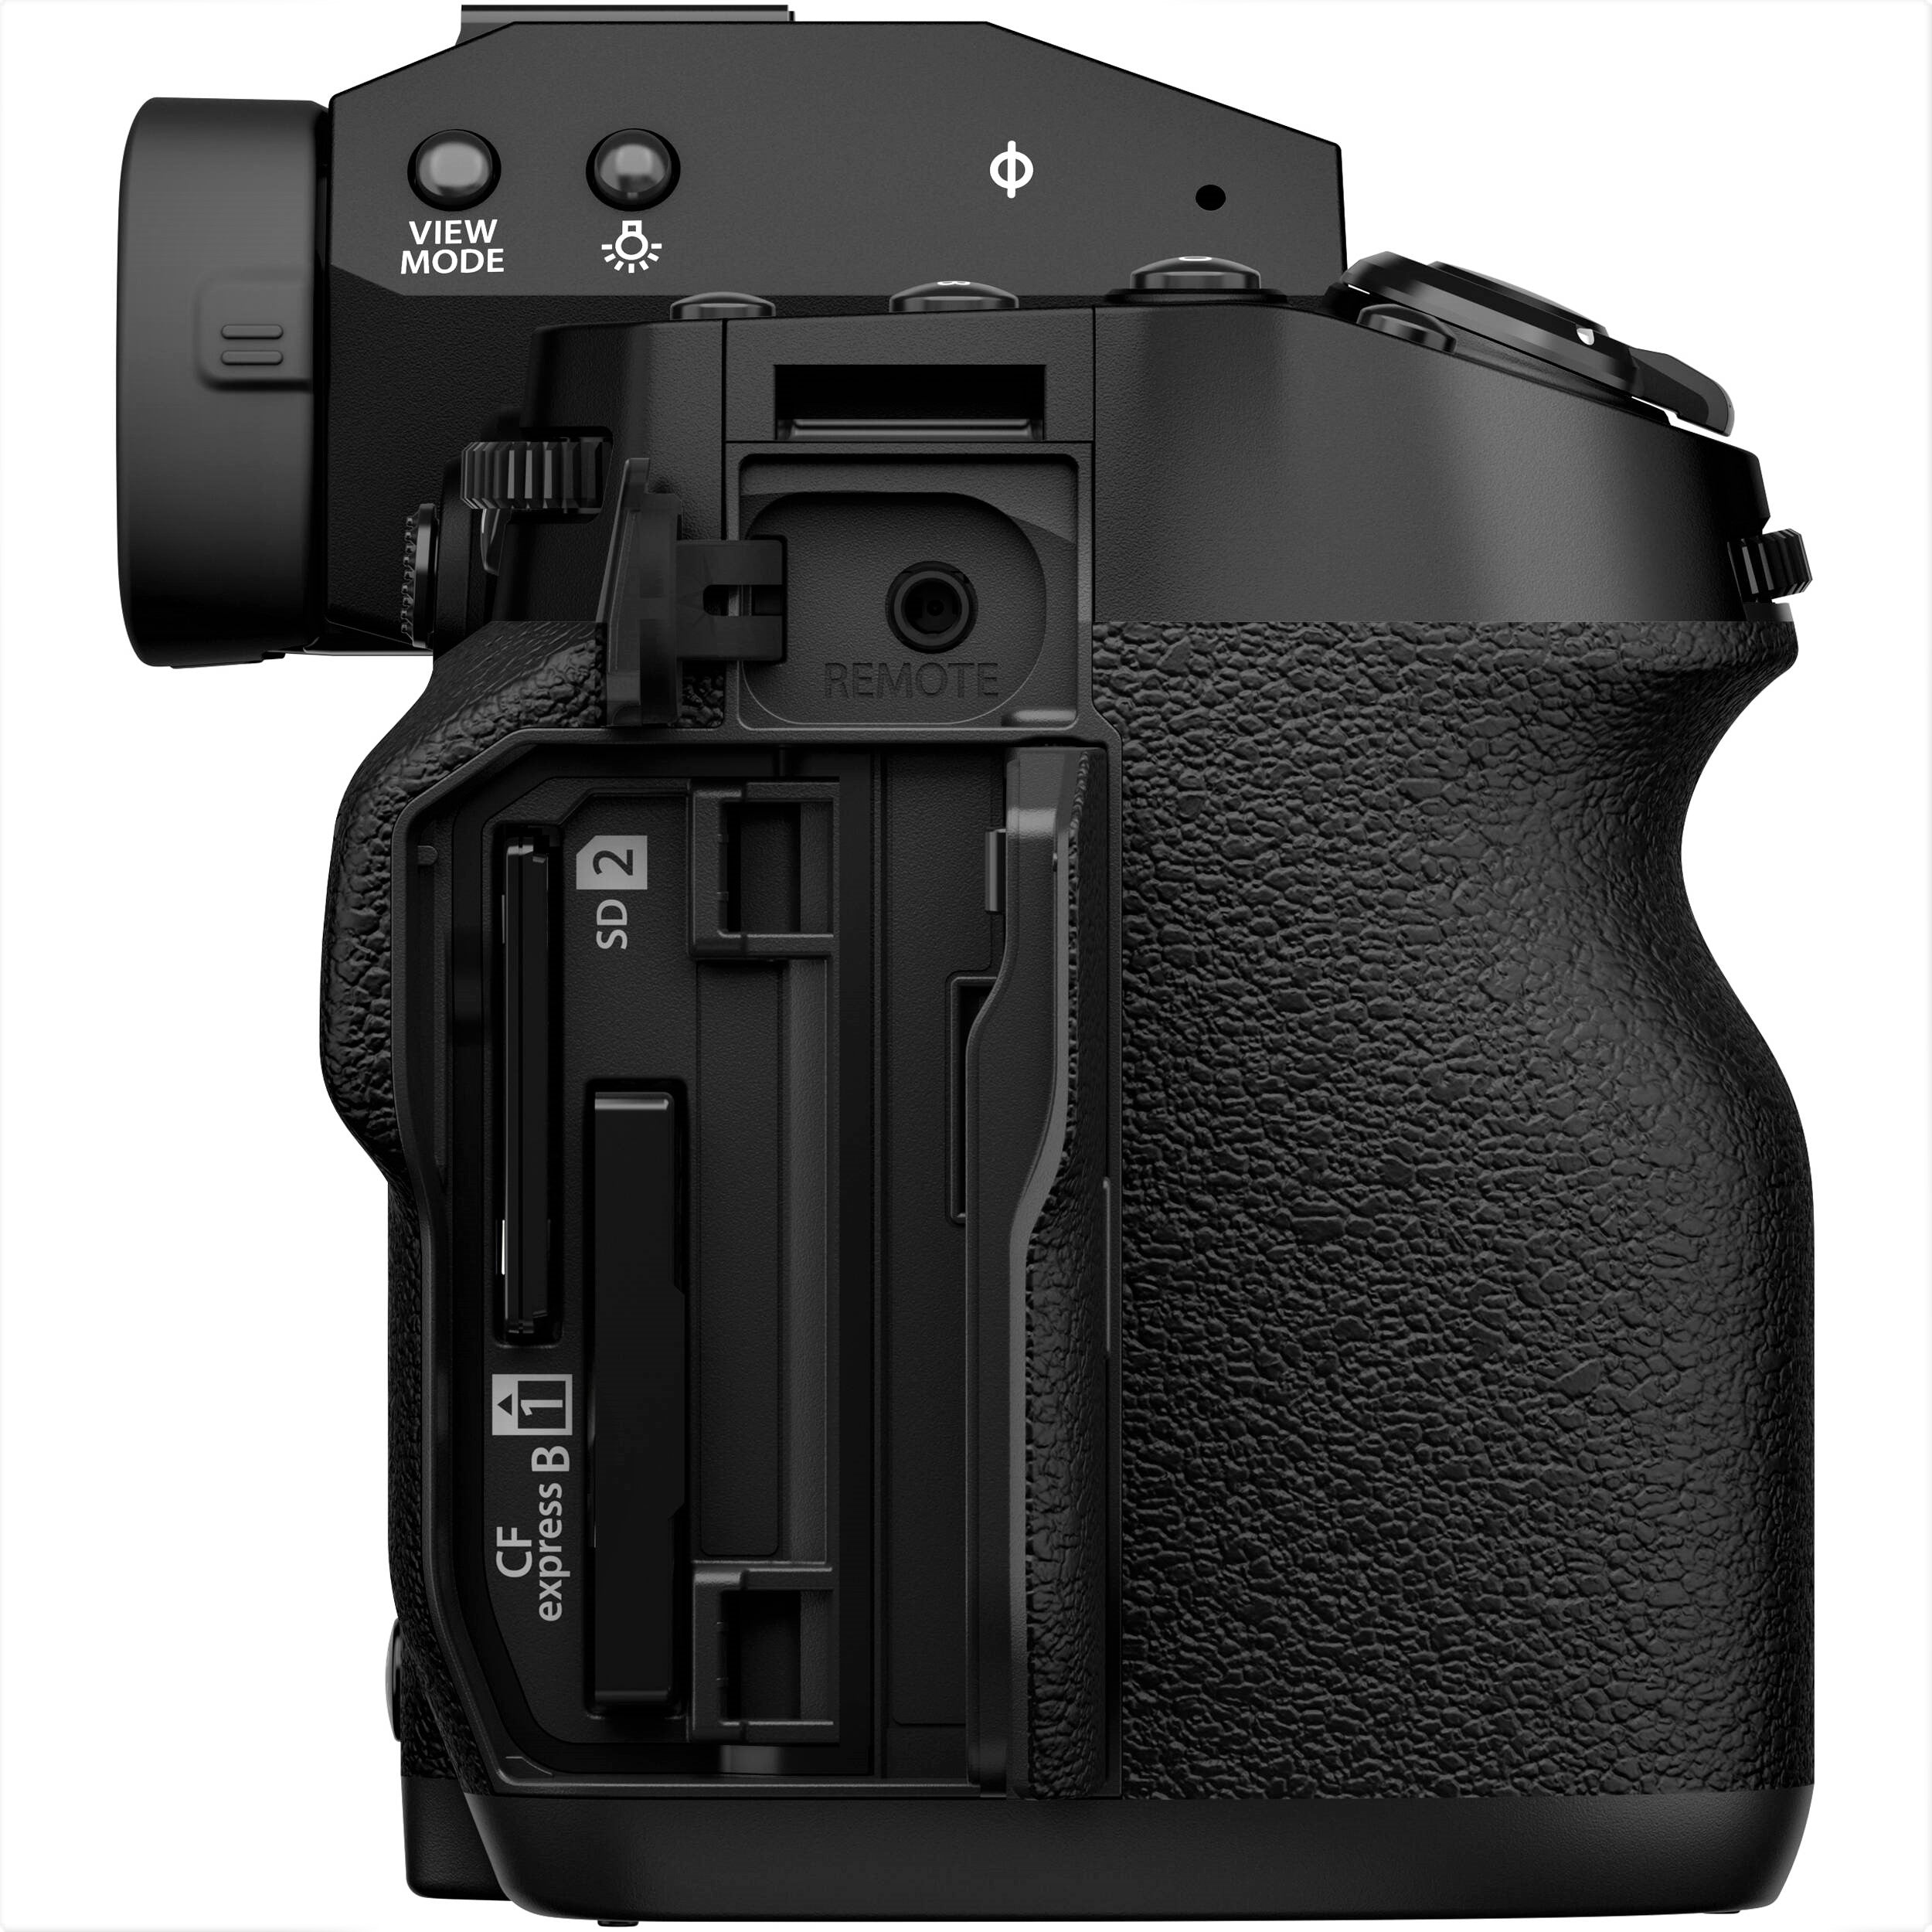
- Fujifilm X-T5 Mirrorless Camera (Black & Silver) - $1,699.00
- Sigma fp L Mirrorless Camera | Travel Camera - $2,499.00
- Sigma fp Mirrorless Camera - $1,490.00
How to Capture a Full Moon
When capturing a shot of the moon, especially during a full moon when it's incredibly bright, achieving the perfect exposure is key. Here's a simple guide to help you get that great shot:
- Start with Base ISO: Begin by setting your camera to its base ISO, which is typically ISO 100. This low ISO minimizes sensitivity to light and is ideal for shooting the well-lit moon.
- Aperture Settings: Set your aperture to around ƒ/11. This setting strikes a balance between letting in enough light while maintaining sharpness and detail.
- Shutter Speed: Initially, try a shutter speed of 1/100. These settings are a good starting point but don't hesitate to experiment and adjust based on the moon's brightness.
- Fine-Tune Shutter Speed: If your initial shot appears too bright, consider using a faster shutter speed like 1/200. Conversely, if the image seems too dim, extend the shutter speed to something like 1/60.
- Aperture Adjustment: To allow more light in, you can open up your aperture. Try settings like ƒ/8 or ƒ/5.6 for this purpose.
- ISO for Extra Light: If you're still not getting the desired brightness, you can increase the ISO to values like ISO 200 or 400. Be mindful, though, that higher ISO settings may introduce some noise into your image.
How to Capture the Milky Way
This one’s a beaut! Here are some handy tips and tricks to help you capture the magnificence of the Milky Way:
- Set ISO to 1600: Start by setting your camera's ISO to 1600. This is a good starting point for astrophotography as it helps capture the faint details of the Milky Way while minimizing noise.
- Apply the 500 Rule: Now, let's talk about shutter speed, a (very) critical aspect of Milky Way photography. Enter the "500 rule." This rule of thumb involves dividing 500 by the focal length of your lens. The result is the maximum shutter speed (in seconds) you can use while still capturing a sharp and clear Milky Way.
- ISO Adjustment: If your initial shot doesn't quite reveal the Milky Way in all its magnificence, don't be discouraged. Try increasing the ISO to a range between 3200 and 6400. Higher ISO settings make your camera more sensitive to light, potentially revealing more intricate details of our galactic neighbor. Just remember that higher ISO values can introduce some noise into your image, so it’s all about finding the right balance.
- Embrace the Power of Manual Focus: When focusing on the Milky Way, switch your lens to manual focus. To achieve pinpoint sharpness, set your focus to infinity and fine-tune it as needed. It's essential to get those distant stars crisp and clear.
- Reduce Light Pollution: To enhance your Milky Way shots, consider heading to a location far from the glow of city lights. Dark sky areas are your best bet for stunning, vivid captures of our galaxy.
How to Capture a Meteor Shower
Photographing a meteor shower can be a thrilling experience, but it requires careful camera settings to capture those fleeting streaks of light across the night sky. Here's a guide to help you get started:
- Equipment Check: Before you head out to capture a meteor shower, ensure you have the necessary gear. A sturdy tripod is essential to keep your camera stable during long exposures. You'll also need a camera with manual settings and a wide-angle lens.
- Aperture and ISO Settings: Begin by setting your lens to its widest aperture (the lowest f-number). This allows your camera to gather as much light as possible, increasing your chances of capturing meteors. For ISO, start with a high but not excessively high setting, such as ISO 1600 or 3200. A higher ISO means that your camera is more sensitive to light, which is crucial for capturing faint meteors. However, be cautious not to go too high, as extremely high ISO values can result in noisy and washed-out images.
- Calculate Shutter Speed: Use the "500 rule" to calculate your shutter speed. Divide 500 by the focal length of your lens to determine the maximum shutter speed (in seconds) you can use without causing noticeable star trails. This ensures that stars remain as pinpoint dots of light in your frame.
- Manual Adjustments: Meteor showers can vary in intensity, so manual adjustments may be necessary to optimize your shots:
- Aperture: If you're not capturing enough meteors, consider opening up your aperture even wider. This lets in more light and increases the chances of catching those elusive streaks.
- ISO: If your images are too noisy or overexposed, try lowering the ISO. Find a balance between sensitivity and image quality.
- Shutter Speed: If the meteor shower is particularly active, you may want to experiment with longer exposure times. Just remember to adjust other settings accordingly to prevent overexposure.
- Use a remote shutter release or your camera's timer to minimize camera shake during the exposure.
- Frame your shot to include a portion of the night sky with no obstructions, such as trees or buildings.
- Keep your camera and lens clean to avoid unwanted blurs and dust in your images.
Conclusion
Remember, astrophotography may require some trial and error, but with the right settings and a bit of luck, you'll capture those spectacular heavenly bodies across the night sky. Enjoy the experience, and don't forget to make a wish for a shooting star!
Did you enjoy reading this article? Leave a comment below! Want to share your night sky shot? Tag us on your socials using the hashtag #NuziraDarkSky..
REFERENCES
A Beginner’s Guide to Astrophotography - Pixsy
Best stargazing apps 2023: AR Apps and Virtual Star Maps | Space
Astronomy Calendar of Celestial Events 2024 - Sea and Sky (seasky.org)