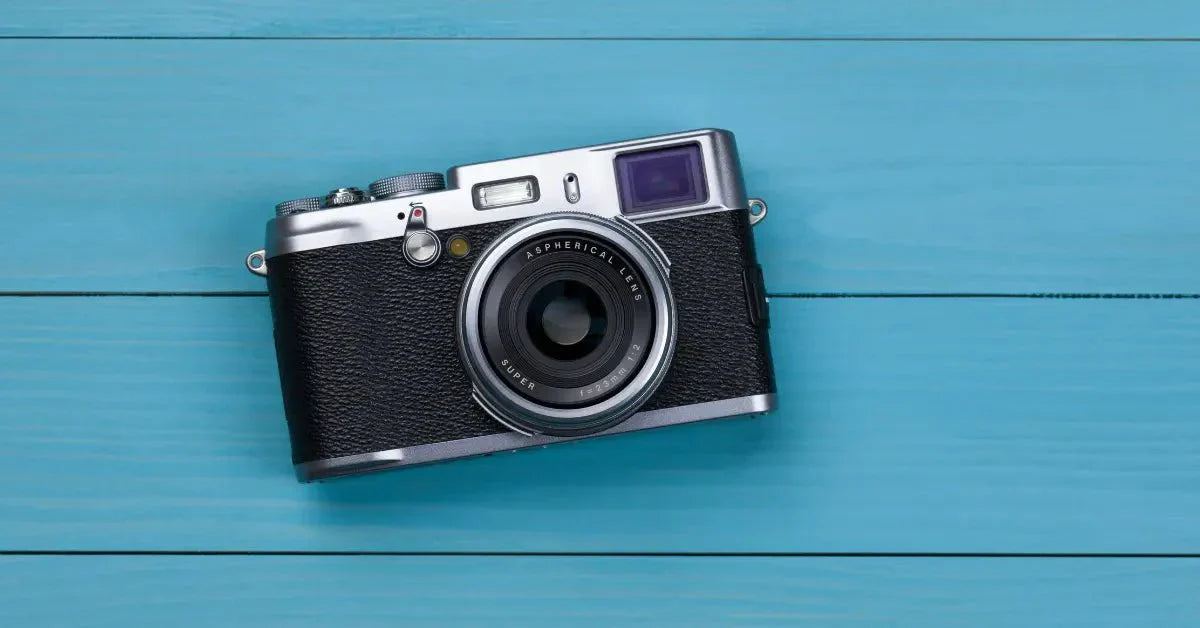
Photography isn't just about capturing images; it's an art. It's about freezing moments, uncovering stories, and expressing creativity through the lens. Many believe that to take stunning photos, you need to travel far or have a high-end studio.
But, the truth is, your home holds untapped potential. This article explores creative photography ideas you can try right at home. Turn your daily surroundings into a backdrop for exceptional art.
Show that inspiration and beauty can thrive right where you are, in the comfort of your own space.
Here are some ideas:
Setting Up Your Home Photography Studio

Choosing the Right Space
Selecting the right spot for your home photography setup goes beyond simply finding an empty area—it's about creating an environment that fuels your creativity.
You might choose a room, a quiet corner of your living room, or part of your garage. The perfect space meets a few key criteria.
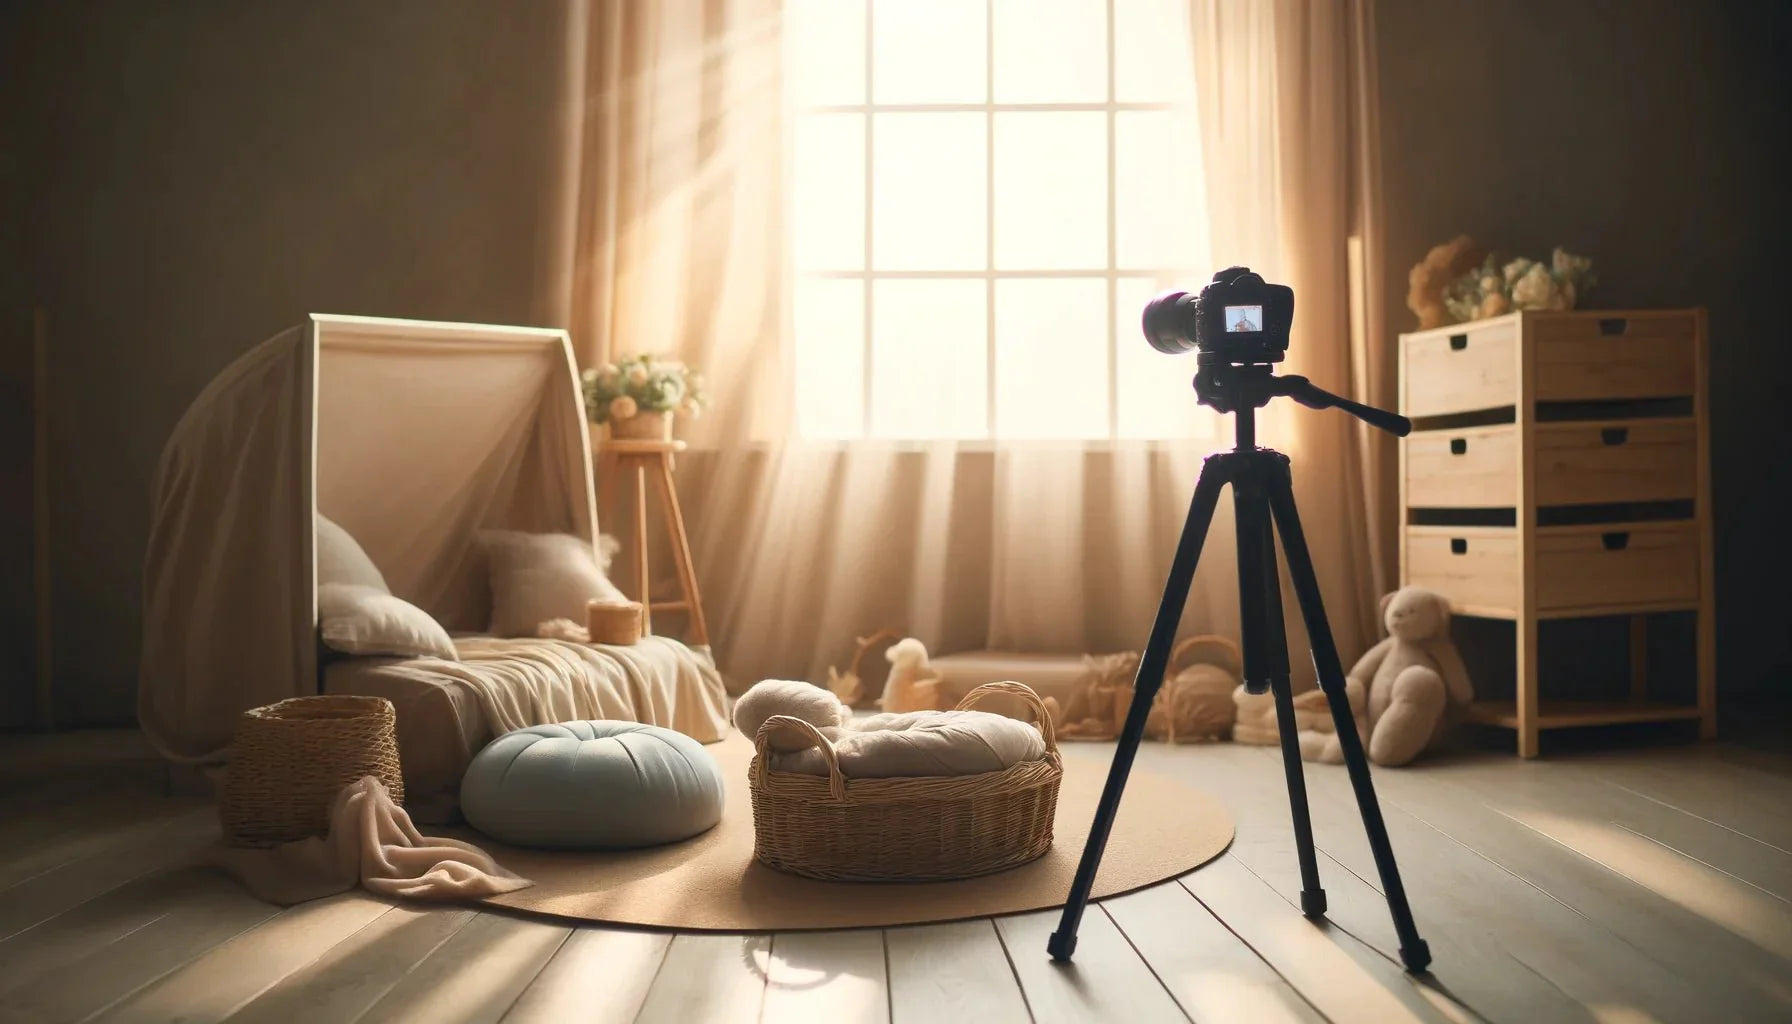
First, prioritize areas with plenty of natural light. Soft, even sunlight not only improves photo quality but also simplifies your lighting needs. Next, the space should be tidy and clear of any distractions—this sharpens your focus on the subject.
Finally, it’s crucial to have enough space. You need room to move, set up your gear, and try out various angles. This careful choice of location is crucial for a home studio that’s both practical and stimulating.
Essential Equipment for Home Photography
Starting your home photography journey doesn't have to break the bank. A simple DSLR or even a good smartphone camera can get the job done. Try adding a few props—like colorful fabrics, interesting books, or quirky trinkets—to give your photos more personality.
Don't forget a solid tripod; it's essential for clear shots in dim lighting.
As your passion for photography grows, you might want to explore more tools. Think about different lenses—a macro for details, a wide-angle for large spaces. Basic lighting gear, such as softbox lights or umbrellas, helps you play with shadows and highlights. With a variety of backdrops, your living room can mimic a professional studio.
These upgrades enhance both the quality and range of your photos, sparking endless creativity at home.
Mastering Light and Shadows

Natural Light Photography
Using natural light from a window is a simple and effective way to improve your home photography. This soft, diffused light is perfect for highlighting the gentle shapes in portraits and the complex details of still life shots.
Try taking pictures at different times of the day. The early morning light brings a lively, refreshing feel, and the golden hour at sunset gives a warm, inviting glow.
Watching how the light changes can enhance the look of your photos and help you learn more about its effects on mood and texture.
Using Reflectors and Diffusers
Discover the simplicity and impact of using reflectors and diffusers in your photography. These tools, whether bought or homemade, are key in managing light. You can use a white sheet to soften harsh sunlight.
This enhances your subject’s natural beauty by easing shadows. Or, try aluminum foil on cardboard as a DIY reflector. It directs light exactly where you want it.
This method boosts the scene's depth and color, helping you keep your vision true while controlling the light precisely.
Here are examples of Reflectors and Diffusers:
- White Foam Board: Acts as a reflector to bounce light onto the subject, softening shadows.
- Silver Reflector: Increases highlights and adds a cool tone, making it ideal for brightening shadows.
- Gold Reflector: Warms up the light, perfect for golden-hour effects or flattering skin tones.
- Translucent Fabric: Serves as a diffuser, softening direct sunlight or harsh artificial light.
- White Umbrella: Diffuses light broadly for a soft, even tone with fewer shadows.
- Black Umbrella: Absorbs light, preventing unwanted reflections and controlling spill in studio setups.
Creative with Artificial Lighting
As daylight dwindles, artificial lights take over, becoming versatile tools in photography. With options like LED panels, ring lights, and even simple desk lamps, you can illuminate your subjects just right.
Try moving these lights around, playing with their angles and brightness. You'll find that such adjustments can deeply enhance the light and shadow play in your photos.
This method creates a realm of dramatic possibilities, enabling you to produce images that skillfully emphasize textures and depth.
Different Photography Genres at Home

Portrait Photography
Your home is the ideal spot for portrait photography. It's cozy and familiar, helping people feel relaxed. This ease can bring out their true selves, leading to photos that capture their real personality and subtle emotions. Use different rooms as unique backdrops.
Each setting adds its own story, from a warm living room to a simple study. These spaces enhance your photos, making each one tell a vivid tale.
Themed Portraits
Explore themed portraits by dressing subjects in historical or cultural outfits. This method enriches your photos with narrative depth and turns the session into a fun, educational experience.
Using costumes from various times and cultures, each portrait tells a unique story through visuals, allowing families to engage and learn in a creative setting.
Macro Photography
The ordinary yet fascinating details of your home with macro photography. Everyday items—like the fine weave of your couch fabric or the textures in your breakfast cereal—become stunning visual tales.
Capture the tiny veins in a leaf or the intricate patterns on a decorative piece. Just add a macro lens or filter to your camera to uncover these small wonders, showing a world filled with intricate beauty often missed in our daily rush.
DIY Macro Studio
Building a simple macro studio boosts your close-up photography. Grab a big cardboard box. Line it with matte black or white paper; this helps avoid reflections and keeps the focus on your subject. Cut panels on the box sides.
These let you shape light, highlighting your subject's tiny details. This approach improves your photos' clarity and quality, letting you fine-tune the light to capture subtle textures and colors.
Advanced Techniques for Enhancing Home Photography
Compositional Techniques for Impactful Photos

The Rule of Thirds and Beyond
The rule of thirds is key to better photo composition. It splits the frame into nine parts with two vertical and two horizontal lines. By placing your subject on these lines, or at the intersections, your photos become balanced and engaging.
This positioning draws the eye, boosting the photo's appeal. But, remember, creativity matters too. Feel free to break these rules for more dynamic shots.
Doing so can add motion, spotlight unique aspects, and bring a sense of intrigue, offering viewers a new way to see your work.
Experimenting with Angles and Perspectives
Change up your photography perspective for a refreshing take on your subjects. Try shooting from high places, down low, or from unique angles. This method adds variety and turns the usual into the stunning.
By altering your view, you discover new patterns, textures, and connections that are often missed in normal, eye-level photography. It provides a novel way to see and capture the world around you.
Here are some simple examples of angles and perspectives to try in photography:
- Bird’s Eye View: Shoot from above, looking directly down on the subject to capture a unique layout or pattern.
- Worm’s Eye View: Position the camera close to the ground and shoot upward to give subjects a towering, imposing feel.
- Dutch Angle: Tilt the camera to one side to create a sense of imbalance or tension within the frame.
- Over-the-Shoulder Shot: Capture a scene as if peeking over someone's shoulder, adding a narrative quality.
- Through-the-Object: Shoot through objects such as windows, fences, or branches for a framed, layered effect.
Depth and Layering in Photography
To enhance your photos, start with layering. Place subjects or objects at different depths—near, middle, and far. This simple setup enriches the image and guides the eye.
Play with aperture settings to focus sharply on your main subject and blur the rest. This manipulation adds scale and depth, giving your photos a dynamic, three-dimensional look.
This approach not only draws the eye but also encourages viewers to explore the details of your composition.
Creative Projects and Themes to Explore

Black and White Photography
Black and white photography makes you see things differently. Without color, you focus on light and shadow. Textures and shapes stand out, details that color might hide. You start looking for contrasts, the ones that make your photos pop.
This lack of color creates drama and emotion. It’s raw. It’s timeless. It’s a style that goes beyond the usual, making your photos more powerful and memorable.
Setting a Mood with Monochrome
Use different shades of black and white to create different feelings in your photos. High contrast can bring out the drama, like the old Hollywood style, making your images intense and elegant.
On the other hand, using softer gray tones can create a calm and reflective mood, perfect for peaceful and thoughtful scenes.
By understanding how light and shadow work together, you can turn your black-and-white photos into powerful stories full of emotion and depth.
Still Life and Arrangement Art
Still life photography is a great way to practice composition and lighting. By arranging items like old books, flowers, antiques, or fruits, you can create interesting scenes.
Each item adds its own story, and how you place them against different backgrounds or lighting can change the feel of the image.
Light, shadow, and texture work together to turn a simple setup into an eye-catching piece of art, giving you lots of creative options to explore at home.
Thematic Collections
Pick objects that fit a central theme and try to arrange them in ways that catch the eye. Think of old kitchen tools with a rustic feel, each one used to make countless meals over many years.
Or imagine a group of potted plants, their different shapes and textures coming together to form a living, breathing piece of green art. Maybe it's a stack of old letters and photos, each one telling a story from the past, frozen in time but still full of life.
Every arrangement you make is like a story, a visual connection between the past and present, full of emotion and imagination.
Utilizing Technology and Software

Editing and Post-Processing
Editing photos can greatly improve your photography, changing decent pictures into captivating visual stories. Whether you're using Photoshop, Lightroom, or mobile apps, these tools let you tweak every detail—like exposure, contrast, saturation, and sharpness—with accuracy.
Editing does more than just correct mistakes; it also allows you to boost the mood and depth of your images, turning them from ordinary snapshots into striking works of art.
Use these techniques not only to fix issues but also to enhance the emotional and visual appeal of every photo you take.
Advanced Editing Techniques
If you're looking to improve your photography, try HDR imaging. It helps capture details in both dark and bright areas. For perfect portraits, master frequency separation.
It keeps the natural texture while removing imperfections. You can also experiment with digital blending. This technique allows you to combine multiple images into one, creating stunning visuals that a single shot can't achieve.
These advanced methods let you add depth, drama, and artistic flair to your photos, going beyond what a standard camera can do.
Time-Lapse and Video
Try something new with your camera. Explore time-lapse photography to show how light changes throughout the day, turning simple rooms into stories that move.
Or, use stop-motion animation to make objects seem alive, making everyday things the stars of your own small film.
These methods add more layers to your home photography, giving you endless ways to play, create, and amaze.
Tools for Time-Lapse
Setting up for time-lapse photography is all about preparation. First, you need a strong tripod. This keeps your camera still and your shots consistent.
Next, you’ll need a camera that can handle automatic interval shooting. Many cameras today come with an intervalometer built-in. If yours doesn’t, you can add an external one. The real magic of time-lapse happens in post-processing. Here, editing software stitches together hundreds or thousands of images.
The result? A video that captures the subtle movement of time. Whether it’s clouds moving across the sky or shadows shifting indoors, this technique turns still scenes into something dynamic and captivating.
Essential Tools for Time-Lapse Photography:
- Sturdy Tripod: Keeps your camera steady for consistent shots.
- Camera with Intervalometer:
- Built-in Intervalometer: Found in many modern cameras, it handles automatic interval shooting.
- External Intervalometer: An add-on option if your camera doesn’t have one built-in.
- Editing Software: Needed to combine your images into a smooth time-lapse video.
- Adobe Premiere Pro: A versatile tool for creating high-quality time-lapses.
- LRTimelapse: Specialized software just for time-lapse processing.
- Extra Batteries and Memory Cards: Essential for long shoots that time-lapse photography requires.
Showcasing and Sharing Your Photographic Art
Creating a Personal Gallery at Home

Displaying Your Best Work
After you've taken your photos, the real magic begins when you display them at home. Choose your best shots and print them with care.
Think about how each one tells a story. Don’t just frame them—arrange them with intention. Place your frames in a way that adds character to your walls, turning plain rooms into a gallery that shows your artistic journey.
This change not only makes your home look better but also reminds you of your creative growth, pushing you to keep improving your skills.
Choosing the Right Frames and Layouts
Choose frames that not only boost your photos but also match your room's style. If you want a modern look, go for simple frames with clean lines to emphasize the art without overpowering it.
But, if you're after a more classic feel, ornate frames can bring elegance and a nostalgic vibe. Before hanging anything, try out different layouts by placing the frames on the floor. This way, you can test various arrangements, making sure each piece works well with the others for a unified and eye-catching gallery.
Perfecting this setup can transform your wall into a well-curated art display that captures attention and tells a story.
Digital Displays
Digital photo frames can give your home photography display a fresh, modern look. They rotate through selected images, making your space feel more alive.
These frames are great for showing time-lapse projects, letting you see the changes over time in a loop. You can also use them to show before-and-after shots from your editing process, letting others see the transformation in your work.
Each time the photos change, they tell a different story, offering a new view every time.
Engaging with the Photography Community

Sharing Your Work Online
In today’s digital world, sharing your photography online offers more than just feedback; it connects you with photographers everywhere. Posting your photos on Instagram, Flickr, or photography forums lets you join a creative community.
This community can inspire you, challenge you, and support your growth. Regularly sharing your photos helps you build a following and engage in meaningful conversations. It might even lead to exciting projects that boost your creativity.
Each post helps you reach more people and enriches your photography journey.
Participating in Online Challenges
Engage with online photography challenges and contests. These platforms offer a diverse array of prompts and themes that not only fuel your creative spirit but also compel you to explore fresh techniques and novel subjects.
Engaging in these challenges allows you to push the boundaries of your artistic expression and continuously refine your skills through experimentation and peer feedback.
It's an excellent opportunity to see how your work stacks up against that of others, providing both inspiration and a path for growth in your photographic journey.
Here are some examples in bullet points:
- Weekly Photo Competitions: Websites like "PhotoCrowd" offer weekly challenges with specific themes.
- Monthly Themed Contests: Platforms like "ViewBug" host monthly contests where photographers can submit photos based on a particular theme.
- Daily Challenges: Apps like "GuruShots" present daily photo challenges that push photographers to shoot and submit photos daily.
- Annual Awards: Major contests like the "Sony World Photography Awards" invite entries once a year with significant prizes and recognition.
Hosting Home Photography Workshops
Consider starting photography workshops at home as your skills improve. This not only boosts your expertise but also lets you meet other enthusiasts and earn extra money.
Create sessions on various topics, like basic camera settings, composition, and specialized fields such as macro or portrait photography. You could also teach photo editing, guiding others to improve their pictures.
These workshops reinforce your knowledge and foster a community of learners excited about photography.
Continual Learning and Improvement

Seeking Feedback and Critiques
Taking on constructive criticism is key to improving your photography. Joining photography clubs or active online forums exposes you to a variety of feedback.
This can highlight both strengths and weaknesses you might not have noticed. These interactions expand your view and deepen your understanding of various artistic methods.
Working in such a collaborative setting promotes ongoing growth, enriching your photography significantly. It opens up new perspectives and creative concepts for your upcoming projects.
Advanced Photography Courses
Ready to boost your photography prowess? Plenty of online courses are available. They cover everything from technical details to the art of capturing images, blending theory with hands-on practice.
Try projects that make you use what you know and get feedback from peers. This feedback is vital—it offers new viewpoints and helpful critiques, helping you polish your skills and expand your artistic flair.
Such courses deepen your knowledge and prepare you to improve your photography substantially.
Here are some real examples of online photography courses that can help improve your skills, presented in a simple, bullet-point format:
- Photography Basics and Beyond: From Smartphone to DSLR - Learn the fundamentals across various devices.
- The Art of Photography (offered by RMIT University) - Explore artistic and technical aspects.
- Landscape Photography Course - Focus on capturing stunning outdoor scenes.
- Adobe Photoshop CC: The Complete Guide - Enhance your photo editing skills.
- Street Photography: Capturing Unique Images - Dive into the dynamics of urban photography.
Experimenting with New Techniques
A field that thrives on innovation and adaptability. Photography, as an art, encourages you to be adaptable, enriching your artistic journey with each new experience. Try drone photography for stunning aerial shots.
Or explore underwater settings for captivating portraits. Learning the latest editing software can also enhance your photos.
Every new skill you acquire not only adds to your portfolio but also enhances your understanding and appreciation of photography's vast possibilities.
Conclusion: The Journey of Home Photography
Photography at home offers a unique opportunity to express yourself creatively and capture the beauty of everyday life. It allows you to work at your own pace, develop your skills, and share your perspective with the world.
By exploring various genres, mastering new techniques, and engaging with the community, you can transform ordinary spaces and moments into extraordinary artistic expressions. Remember, every great photographer started somewhere, and your home is the perfect place to begin this rewarding journey.
Embrace the process, keep learning, and most importantly, enjoy every shot you take.
Visit Nuzira to learn more about this.

