Ever shot a video that looked amazing in your head but turned out a bit... meh? We've all been there.
Today, where everyone's scrolling through ultra-crisp content, a low-quality video sticks out like a sore thumb. It's not just about looking cool; it's about capturing moments the way they deserve to be remembered.
Whether you're aiming to be the next big thing on YouTube, trying to nail that professional video project, or just want to make your family videos look less like a 90s sitcom, getting your video quality spot on is key.
How to Improve Video Quality

So, what do you do when your video quality doesn't quite hit the mark? No stress! This blog is your go-to guide for turning those lackluster videos into eye-candy. We're talking about easy, actionable ways to boost your video quality – from basic tweaks anyone can do to some neat tricks that might just surprise you.
Ready to up your video game? Let’s jump into the fun and funky world of video enhancement and get those pixels popping!
Why is Video Quality Important?
In today's world, where everyone's glued to screens with crystal-clear displays and zipping around on super-fast internet, the quality of your videos is more important than ever. Think about it – when you watch a video that's crisp and clear, doesn't it just feel more... legit?
High-quality videos are like a secret sauce for making anything you watch way more enjoyable and engaging.

Whether you're shooting a video to share with friends and family, putting together a slick presentation for work, or creating content for your YouTube channel, the quality of your video is a big deal. It's not just about making things look good (though that's a huge plus); it's about making an impression.
A video with great clarity and sharpness can grab your audience's attention and keep them hooked. It's like the difference between a fuzzy, old-school TV show and a super-sharp 4K movie – one is kind of a strain to watch, and the other? You feel like you're right there in the action.
So, whether you're aiming to be the next big vlogger or just want to make your family videos a bit more special, remember this: the quality of your video can make or break how your audience perceives and engages with your content
Understanding Video Quality and What You Should Focus On
When we talk about video quality, it's like we're discussing the secret ingredients to a great recipe. There are a few key factors that really make or break how your video looks. Think of these as your video's flavor enhancers - resolution, bitrate, and compression.
First up, resolution. This is all about the number of tiny dots, called pixels, packed into your video screen. Imagine a giant digital mosaic. The more pixels you have, the sharper and clearer your picture looks.

It's like comparing a finely detailed painting to a blurry photograph. More pixels mean a crisper, more detailed video. That's why everyone's crazy about 1080p, 4K, or even 8K resolutions!
Next, we've got bitrate. This one's a bit like the seasoning - it can really change the taste of your video. Bitrate is about how much detail is packed into each second of your video. A higher bitrate is like a richer flavor; it means more information and better quality. But watch out, just like too much salt can ruin a dish, too high a bitrate can make your video files huge and unwieldy.
Lastly, let's chat about compression. This is the art of squishing your video files down to a more manageable size without losing too much quality. It's a delicate balance, like packing a suitcase without squashing your favorite hat.
Compression is crucial because it helps make your videos easier to share and stream, but overdo it, and you'll start to notice a drop in quality.
So, understanding these three - resolution, bitrate, and compression - is like knowing your way around the kitchen. Depending on what you're cooking up (or in this case, what kind of video you're making), you'll need to adjust these elements to get the best results.
It's all about finding that sweet spot where everything comes together perfectly!
Can We Convert Low-Quality Video to High Quality?
Turning a low-quality video into a high-quality one is a bit like giving it a digital makeover. First, there's upscaling the resolution – it's like zooming in but making everything look sharper, not blurrier. Think of it as giving your video a clarity boost.

Then, we tweak the lighting and colors. It's like adjusting the brightness and contrast on your TV, but with more finesse. You're basically fine-tuning the visuals to make them pop.
Lastly, noise reduction algorithms come into play. These are your techy tools that help smooth out the grainy bits, kind of like using a filter to clean up those pesky imperfections.
But remember, the starting quality of your video sets the bar. It's like renovating a house; the end result depends a lot on what you're starting with. The better the original, the more impressive the upgrade!
Step-by-Step on How to Improve Video Quality
Alright, let's break down the process of sprucing up your video quality into some easy, manageable steps. Think of it like giving your video a spa day – it's all about making it look its best!
- Assess the Original Quality: First things first, you got toknow what you're working with. It's like checking the weather before you head out – you need to know if you're dealing with a light drizzle or a full-blown storm. Peek at the resolution, bitrate, and format of your video. The resolution is all about how many pixels you've got – think of it as the thread count in your sheets, higher means smoother and clearer. Bitrate is like the seasoning in your cooking; it's about how much detail is packed in there. And the format? That's the container holding your video – some are sturdier than others.
- Choose the Right Software: Now, this is where you pick your tools. It's like choosing the right outfit for an occasion – you wouldn't wear flip-flops to a job interview, right? There are tons of software options out there. If you're just starting, something user-friendly like Filmora might be your jam. For the pros, Adobe Premiere Pro or Final Cut Pro could be more your speed. It's all about what feels right in your hands.
- Upscale Resolution: This is where the magic happens. Upscaling resolution is like giving your video a digital facelift. You're basically adding more pixels to make everything look sharper and clearer. AI-based upscaling is the new kid on the block, and it's pretty awesome. It's like having a smart assistant who knows just where to smooth out the wrinkles and add a bit of glow.
- Adjust Color and Brightness: Time to add some pizzazz! Adjusting the color and brightness is like setting the mood with lighting and music for a romantic dinner. You want your video to pop but not blind people. Play around with the settings to get that perfect balance where everything looks vibrant yet natural.
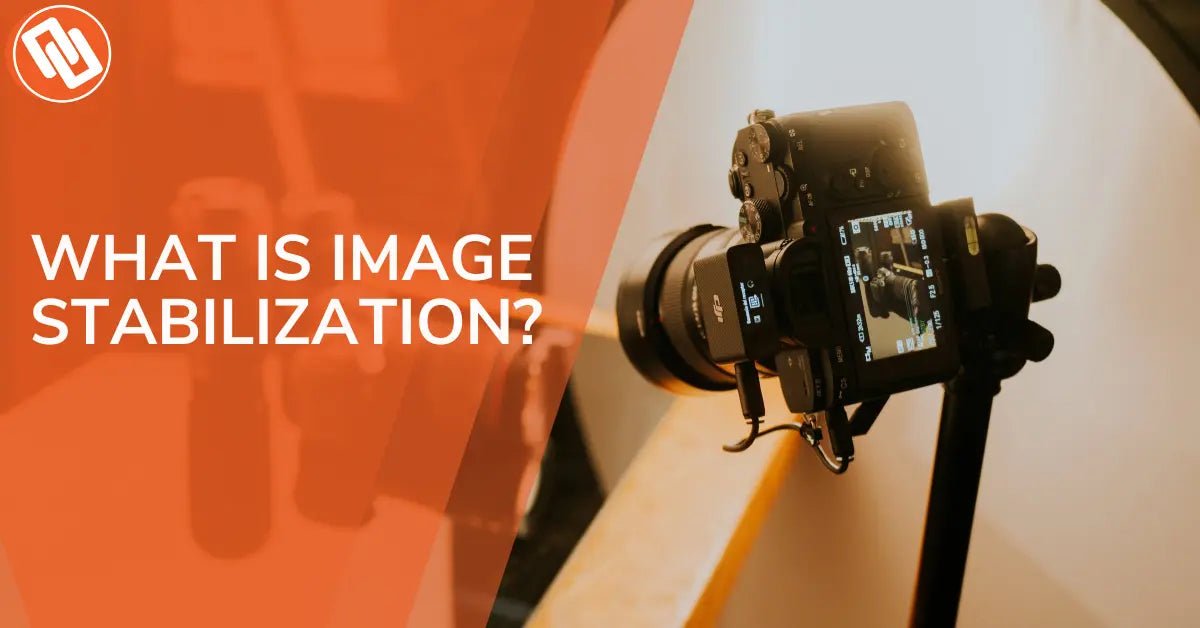
- Stabilize and Reduce Noise: Nobody likes shaky or grainy videos – it's like trying to have a conversation in a noisy café. Stabilizing your video is like finding a quiet corner where you can chat in peace. Reducing noise helps in clearing up that annoying grainy look, making everything smoother. It's like sifting the flour for your cake batter – it just makes the end result so much better.
- Export in the Right Format: Last but not least, you got to save your masterpiece in the right format. It's like packing your leftovers in the right container so they don't spill all over the fridge. Some formats keep your video quality high but can have huge file sizes, while others are more compressed. Think about where your video is going – YouTube, a big screen, your grandma's old TV – and choose a format that keeps it looking good.
Remember, it's all about experimenting and having fun with it. So go ahead, play around with these steps and watch your videos go from meh to marvelous!
Best Tools to Improve Video Quality

When it comes to sprucing up your videos, there's a whole toolbox of software out there, each with its own cool tricks. Let's break it down:
- Who's it for? The professionals and aspiring experts.
- What's it like? Think of it as the Swiss Army knife in your video editing toolkit. It's got a bit of everything – from cutting and rearranging clips to color correction and adding effects.
- Why use it? It's versatile and powerful, perfect for those who want total control and a wide range of features.
- Who's it for? Mac users who love sleek, intuitive design.
- What's it like? It's the cool, artsy friend in the video editing world. User-friendly but still packed with professional features.
- Why use it? Great for quick, efficient editing that still looks top-notch.
- Who's it for? Beginners to intermediates, and anyone dabbling in color grading.
- What's it like? It's like getting a pro-level tool but with training wheels. The free version is a treasure trove for learners.
- Why use it? Offers a professional feel without the overwhelming complexity, especially in color correction and audio post-production.
- Who's it for? Anyone looking for quick, straightforward enhancements.
- What's it like? It's the magic wand of video enhancement – simple, effective, and to the point.
- Why use it? Ideal for quick fixes like sharpening, reducing noise, and brightening up your videos without needing to dive deep into technicalities.
Conclusion
Improving video quality can transform your content, making it more engaging and appealing. By understanding the key aspects of video quality and utilizing the right tools and techniques, you can significantly enhance your videos.
Remember, the goal is not just to make your videos look better but to ensure they convey your message effectively and captivate your audience. So, grab your tools and start turning your videos into masterpieces today!
Start experimenting with the techniques and tools mentioned, and don't forget to keep learning and exploring new ways to enhance your video quality.
Share your experiences and results with us in the comments below!
You can visit Nuzira to learn more about videography and you can join our Discord channel to be part of our community!